
Flower arranging
A convincing hydrangea arrangement starts with the vase opening and the shape of the flower heads. Get those working together before adding more stems or cutting anything shorter.
Start with the opening, the depth and the viewing position
Put the empty vase where the display will live. A dining-table arrangement needs a seated sightline check; a console display may be viewed mostly from the front. Decide which sides need flowers before you begin.
Measure the opening inside the rim, then check whether the neck narrows below it. For an oval opening, record both directions. Next, measure the usable interior depth gently with a ruler. Outside height and body width cannot tell you how much room there is for stems.
A narrower neck can gather stems; a wider opening allows a broader spread but may let a small bunch lean. Compare those shapes in our vase size guide.
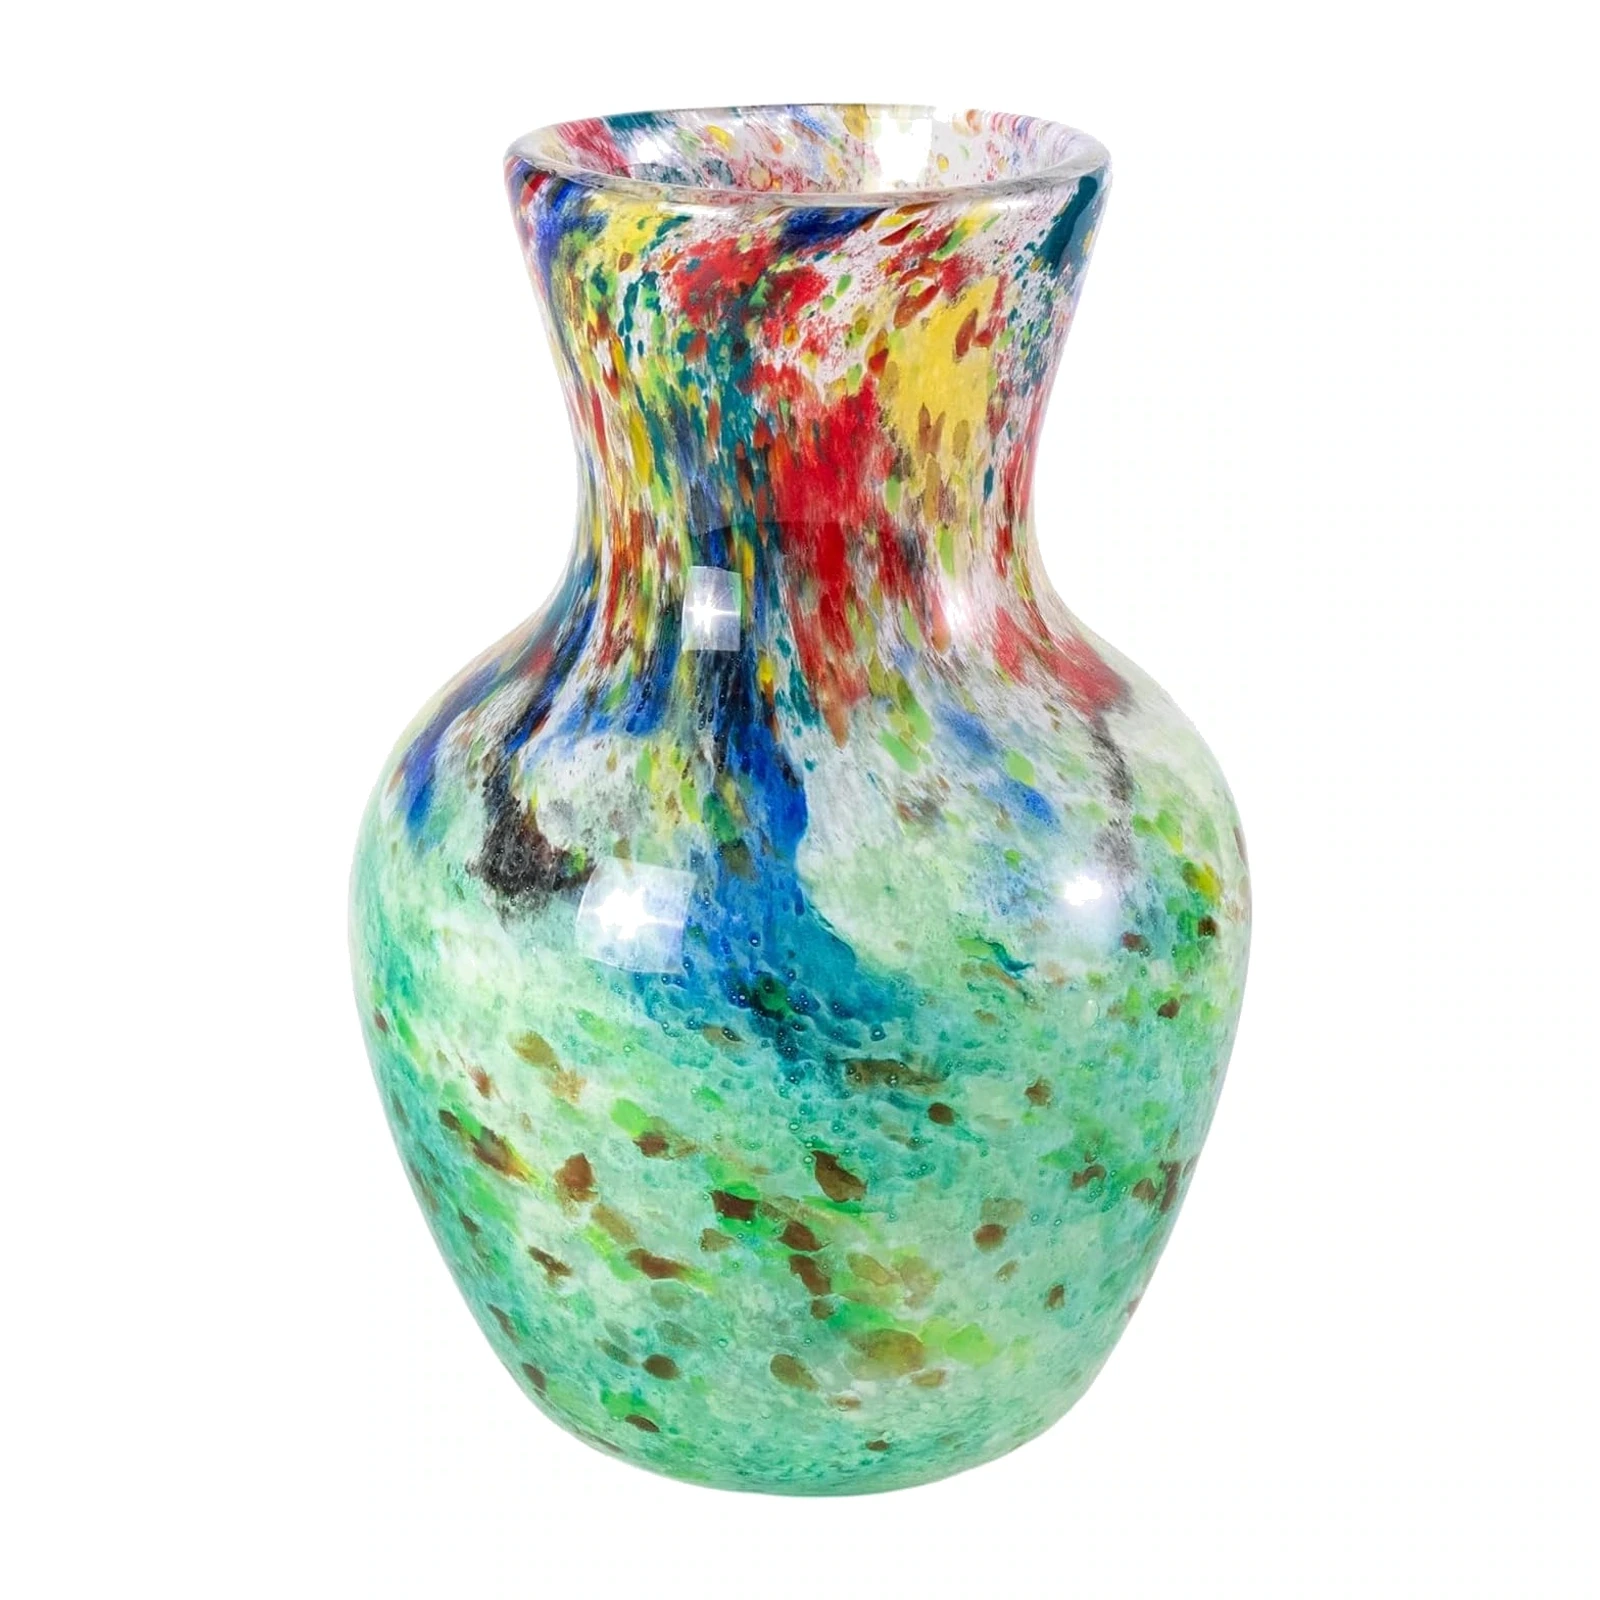
These selections are from the KAMMAK collection. The colored glass vase below is listed as 10.8 inches high, but its opening diameter is not supplied. Treat it as a vase to assess using these measurements, rather than a guaranteed fit for a particular stem set.
From the KAMMAK collection
KAMMAK Colored Glass Vase — HL049
A patterned glass option to assess when you want the vessel to add color. Check its interior opening and trial the stems before committing to a pairing.
- Glass
- Listed dimensions: 4.9 × 3.5 × 10.8 inches
- Opening diameter not supplied
How many faux hydrangea stems do you need?
Start by identifying what you have. One stem is one separate main stalk you can place in the vase. A branching spray may carry several flower heads while still being one stem. A hydrangea-style head contains many small florets, which do not count as separate stems.
The KAMMAK listings below give package counts and approximate overall lengths. These are catalog specifications, not measurements of finished arrangements.
| Stem set | Listed count | Approximate length |
|---|---|---|
| Pink and Cream — FZH006 | 3 stems | 31 inches |
| Blue, Purple and Peach — FZH004 | 3 stems | 24 inches |
| Pink, Purple and White — FZH008 | 4 stems | 27 inches |
On a narrow screen, scroll within the table to see every column.
Use the stems you have for an initial trial. Rotate and separate the heads before deciding you need another package. Three longer stems do not automatically make a fuller arrangement than four shorter ones, and a four-stem set does not need to lose a stem to follow an odd-number styling convention.
From the KAMMAK collection
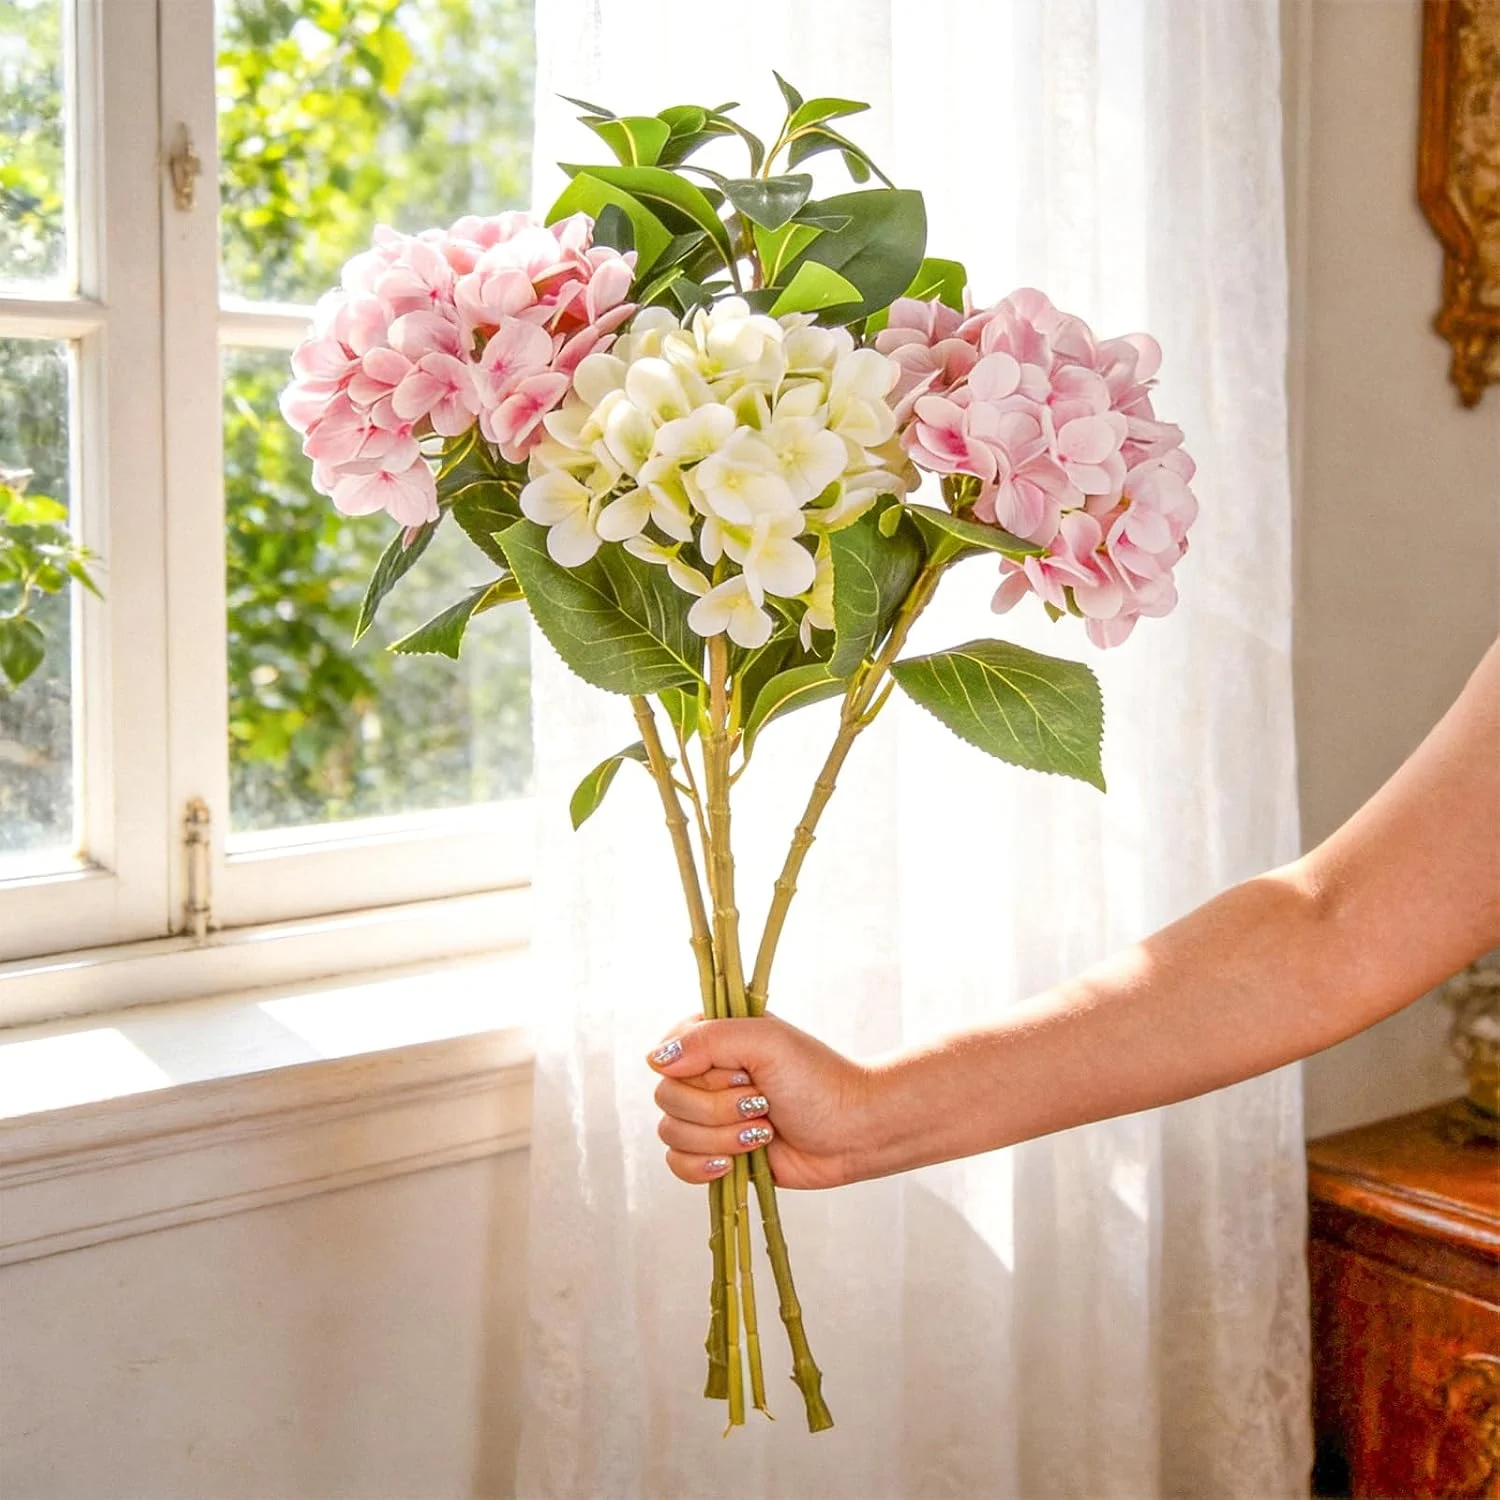
KAMMAK Pink and Cream Artificial Hydrangea Stems — FZH006
The longer listed stems allow you to explore different display heights by bending them gradually. The blush pink and cream palette keeps the flower colors restrained.
- 3 stems
- Approximately 31 inches long
- Plastic stems with flexible internal wire
From the KAMMAK collection
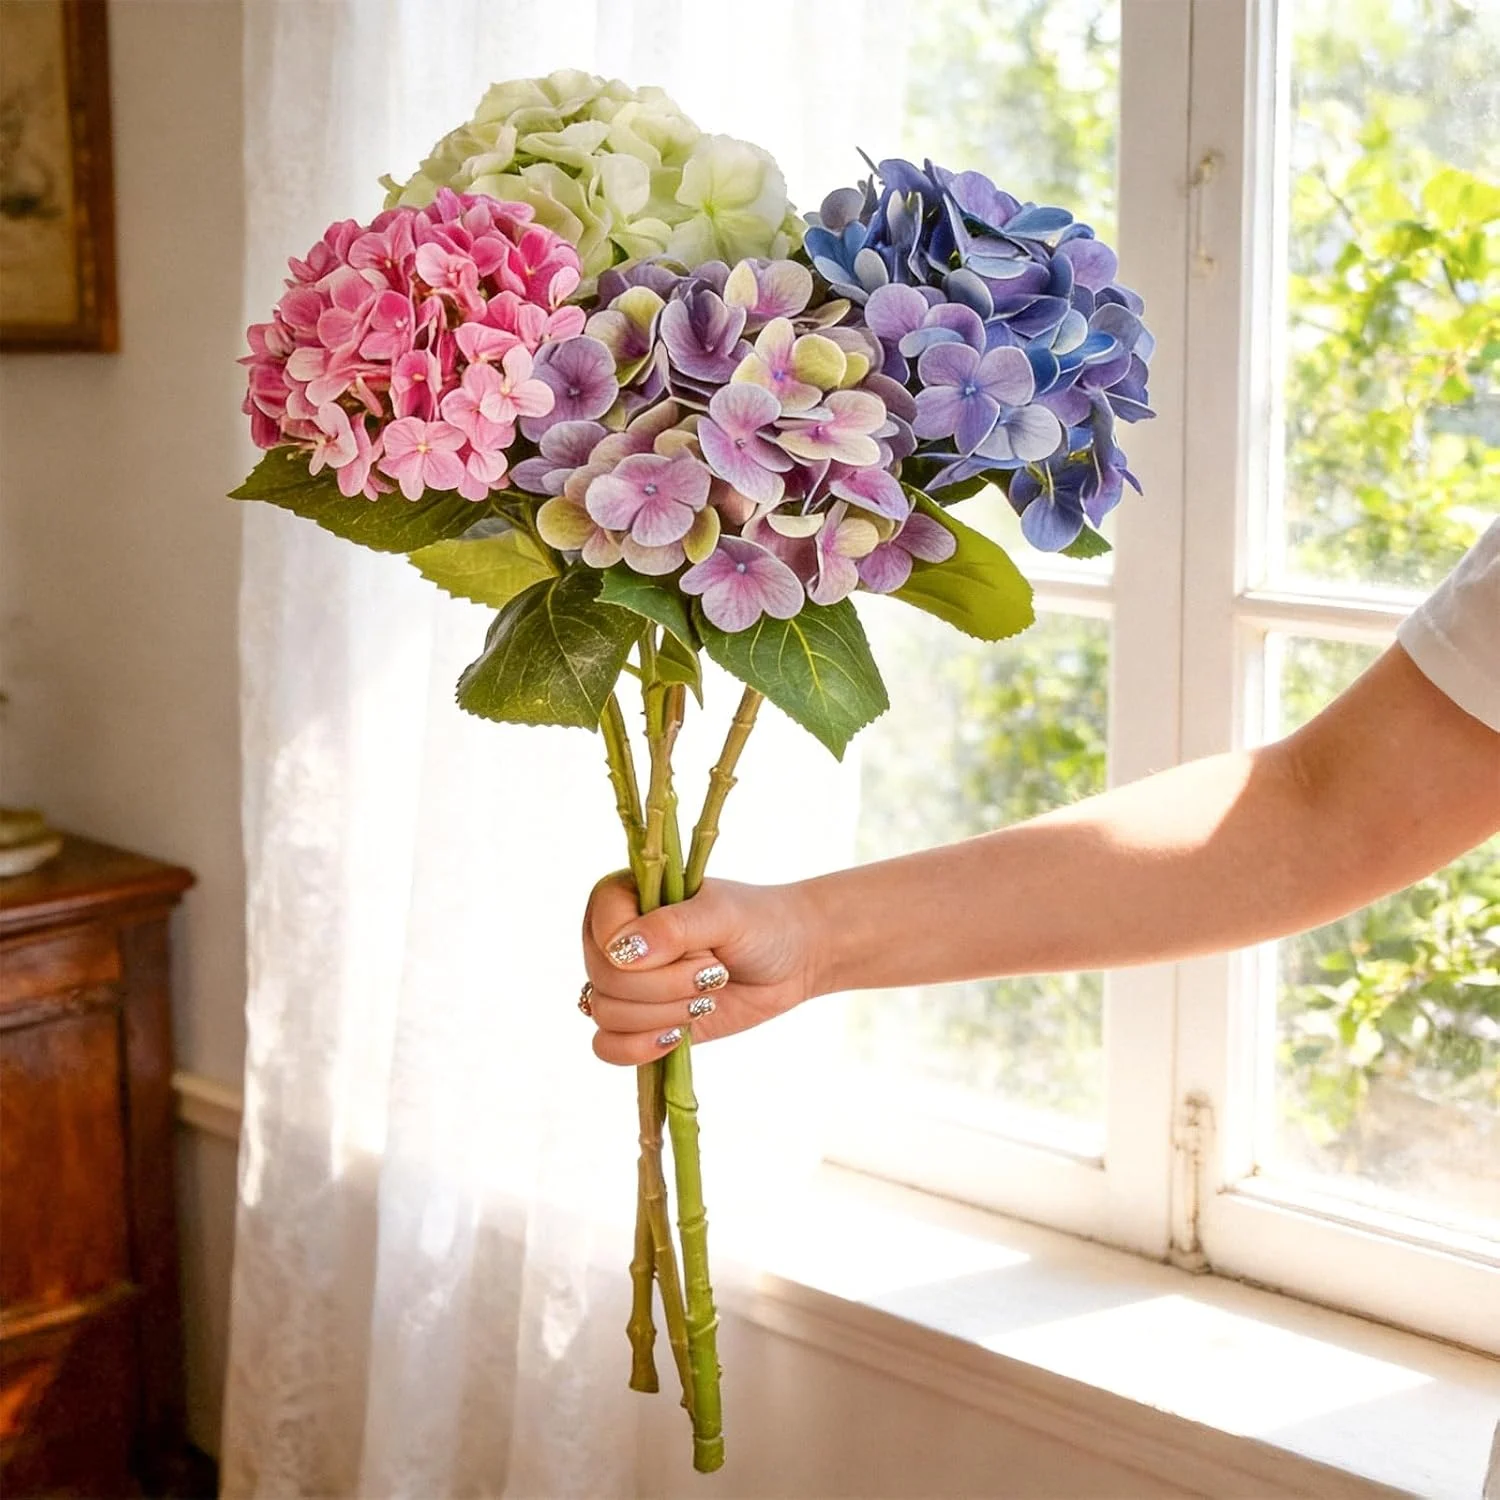
KAMMAK Pink, Purple and White Artificial Hydrangea Stems — FZH008
A four-stem option for testing coverage one stalk at a time. Its mixed flower colors can carry the arrangement when paired with a quieter vessel.
- 4 stems
- Approximately 27 inches long
- Plastic stems with flexible internal wire
Set the height before you shorten a stem
Hold a stem beside the vase with its flower head at the height you want. Note where the stalk meets the rim and how much length must sit inside. The relevant measurement is the finished display from tabletop to highest flower, not just the product’s unbent length.
For an illustrative straight-stem trial, an 8-inch usable depth plus a flower top 6 inches above the rim suggests about 14 inches from the stem’s lower end to its top. This is a planning example, not a tested KAMMAK combination; angled stems and bends change the fit.
The three flower sets above have flexible internal wire. Support the stalk with both hands and form a gradual curve in the lower section, outside the vase. Do not pull on petals or use the glass rim as a lever. Stop if a joint resists.
OKA’s faux-flower arranging guide recommends bending wired stems before cutting so their height can be adjusted. If you eventually choose to trim, use wire cutters suitable for the stem and keep the cut end from scraping the vase.
Build the arrangement one stem at a time
- Open up the first stem. Gently separate compressed leaves and turn the flower head toward the main viewing position. Adjust only parts designed to move.
- Place the first flower. Set it near the center as a reference for height. Keep its stalk supported inside the vessel rather than balancing the whole weight on the rim.
- Add the next stem at a different angle. Let the flower heads sit beside one another instead of pressing their faces together. Lower one slightly if the tops form a stiff, flat line.
- Turn the vase and fill the actual gap. Add the next stem where coverage is missing. For a display seen from all sides, inspect the back as well as the front.
- Pause before adding more. Step back to the normal viewing distance. Adjust leaves and rotate a head first; use another stem only if the remaining gap is unwanted.
Balsam Hill’s arranging guidance also recommends checking the silhouette as you turn the vessel. Treat the outline as your guide: you may prefer a compact cluster or a looser shape with visible space between blooms.
Check stability before calling it finished
Place the arrangement on a level surface and let go while keeping your hands close enough to catch it. Watch whether the stalks slide or the flowers pull the vessel to one side. This checks the arrangement at rest; it is not a tip-resistance test.
If it leans, bring the longest or heaviest-looking heads closer to the center, lower their height, or reduce the outward spread. If the stems cannot stay where you put them, try a vase with a more supportive neck. A vase’s listed height alone does not establish stability.
Do not force extra stems into a tight opening to wedge the arrangement upright. Leave room to remove each stem without tugging, and keep the finished display away from a table edge or a frequently bumped walkway.
Make visible stems part of the design
In clear glass, the lower stalks remain part of the arrangement. Use gentle curves and a deliberate crossing point rather than a tangled bundle. If the bends look distracting, choose a colored or opaque vessel; colored glass may soften their appearance without hiding them completely.
Keep the vessel dry for this all-faux arrangement. Water is unnecessary for the flowers and is not a substitute for checking balance. Avoid adding loose stones simply to disguise stems: they can make later adjustments awkward and may contact the glass.
With a strongly patterned vase, repeat one of its colors in the flowers instead of introducing several competing accents. With a quieter vase, the pink, purple, blue and white tones in FZH008 can provide the color.
Fix the shape without starting over
| What you see | What to try |
|---|---|
| Flowers disappear into the neck | Reduce the lower bend or choose a shallower vessel. |
| A dense ball with crushed petals | Remove a stem temporarily and separate the remaining heads. |
| Flowers drift to one side | Recenter the tall stems and reassess neck support. |
| An exposed patch only at the back | Rotate a stem before increasing the total count. |
| The arrangement blocks conversation | Lower the heads or move it to a sideboard. |
On a narrow screen, scroll within the table to see every column.
Save the measurements that worked
Once you like the result, note the vase opening, usable depth, stem count and finished height. Take your own front and side photos before moving anything. Those details will be more useful next time than a universal flower-count chart.
Follow the flowers’ product-specific care instructions when cleaning or reshaping. A wired stem does not establish that petals tolerate soaking, hot water, steam or prolonged outdoor sun.
For another vessel, compare the glass vase collection using the same measurements. Change one variable at a time so you can see what improves the arrangement.